Make your motorhome sparkle with a little waxing
Waxing and polishing your motorhome is an essential task that can help to maintain the appearance and value of your vehicle. Over time, your motorhome’s exterior can become dull and faded due to exposure to the elements, including sunlight, rain, and road debris. Waxing and polishing can help to protect your motorhome’s paint and clear coat from damage and extend its lifespan. In this article, we’ll cover the basics of waxing and polishing your motorhome, including the tools and materials you’ll need, the steps involved, and some tips for achieving a professional-quality finish.
Tools and Materials Needed
Before you get started, you’ll need to gather some tools and materials to help you with the task. Here are the essentials;
- Wash mitt or sponge
- Car wash soap
- Bucket
- Water hose or pressure washer
- Microfiber towels or chamois
- Polish applicator pads
- Polishing compound or wax
- Power buffer (optional)
Steps Involved
Now that you have all the tools and materials you need, let’s go through the steps involved in waxing and polishing your motorhome.
- Wash the Motorhome: The first step in waxing and polishing your motorhome is to give it a thorough wash. Use a wash mitt or sponge and car wash soap to gently remove any dirt, grime, and other debris from the surface. Be sure to rinse the vehicle thoroughly with a water hose or pressure washer to remove all the soap residue.
- Dry the Motorhome: Once you’ve washed the motorhome, it’s time to dry it. Use a microfiber towel or chamois to gently dry the surface, being careful not to scratch the paint or clear coat.
- Apply Polishing Compound: After the motorhome is dry, you can start applying the polishing compound. Use a polish applicator pad to apply a small amount of compound to the surface, then spread it evenly over the area in circular motions. Be sure to work in small sections at a time to prevent the compound from drying out before you can buff it off.
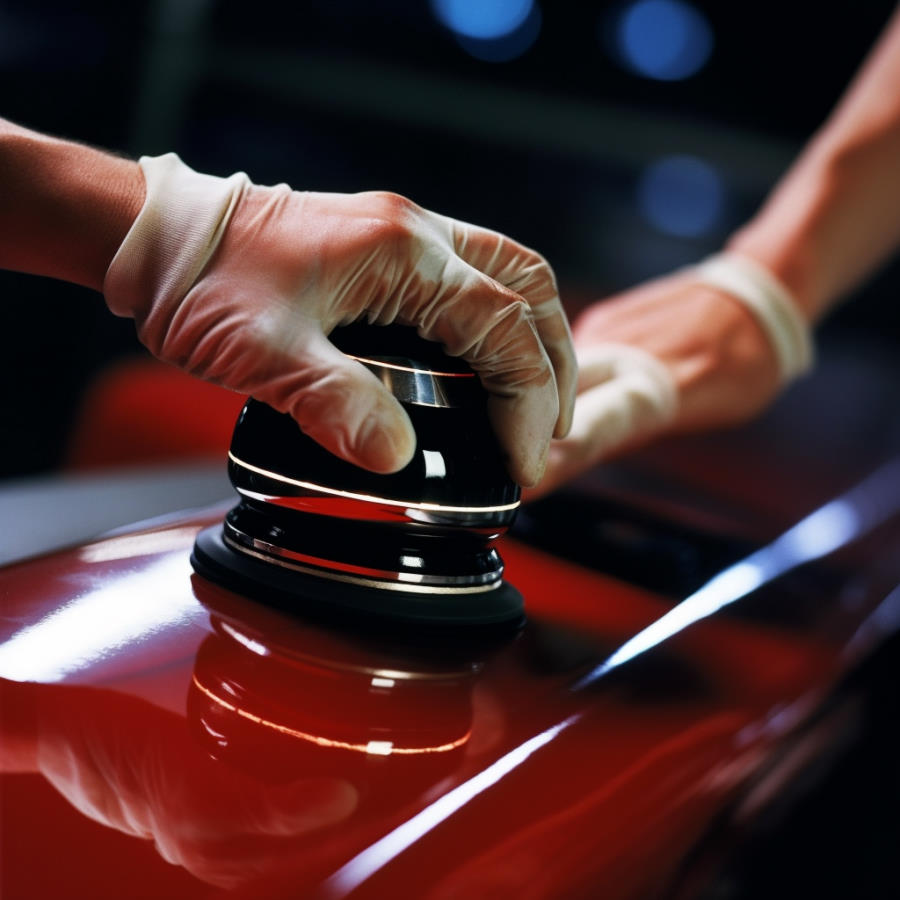
- Buff the Surface: Once you’ve applied the polishing compound, it’s time to buff the surface. You can do this by hand using a microfiber towel or by using a power buffer. If you’re using a power buffer, be sure to use a low speed setting and work in small sections to avoid overheating the surface.
- Apply Wax: After you’ve finished buffing the surface with the polishing compound, it’s time to apply the wax. Use a clean polish applicator pad to apply a small amount of wax to the surface, then spread it evenly over the area in circular motions. Again, be sure to work in small sections to prevent the wax from drying out before you can buff it off.
- Buff the Surface Again: Once you’ve applied the wax, it’s time to buff the surface again. Use a clean microfiber towel or power buffer to buff the wax off the surface, leaving a shiny, smooth finish.
Tips for Achieving a Professional-Quality Finish
Here are some tips to help you achieve a professional-quality finish when waxing and polishing your motorhome:
- Use high-quality products: Investing in high-quality polishes and waxes can make a big difference in the overall finish of your motorhome.
- Work in small sections: Working in small sections will help you to achieve a more even finish and prevent the wax or polishing compound from drying out before you can buff it off.
- Use a power buffer: While it’s possible to wax and polish your motorhome by hand, using a power buffer can make the task easier and more efficient.
- Avoid waxing in direct sunlight: Waxing your motorhome in direct sunlight can cause the wax to dry too quickly, making it difficult to buff off and leaving behind streaks and swirl marks. Instead, choose a cool, shaded area to work in.
- Don’t apply too much pressure: Applying too much pressure when buffing can cause swirl marks and damage the paint or clear coat. Instead, use a light touch and let the wax or polishing compound do the work.
- Use a clean surface: Make sure that the surface of your motorhome is clean and free of any debris before you start waxing or polishing. This will help to prevent scratches and other damage to the paint.
- Wax and polish regularly: Regular waxing and polishing can help to maintain the appearance and value of your motorhome. Aim to wax and polish your vehicle at least once or twice a year, or more often if it’s exposed to harsh weather conditions or other factors that can damage the paint.
Conclusion
Waxing and polishing your motorhome is an important task that can help to protect your vehicle’s paint and clear coat from damage and keep it looking its best for years to come. With the right tools and materials, as well as some basic knowledge of the process, you can achieve a professional-quality finish that will make your motorhome the envy of the campground. Remember to take your time, work in small sections, and follow the tips and techniques outlined in this article, and you’ll be well on your way to a beautiful, shiny motorhome that you can be proud of.