Cleaning your motorhome in easy steps
Cleaning your motorhome is an essential part of owning one. Not only does it keep the interior and exterior looking clean and well-maintained, but it can also prevent damage and prolong the life of your vehicle. In this blog post, we’ll cover the steps involved in cleaning a motorhome and offer tips for making the process as easy and effective as possible.
Before you begin, it’s important to gather all the necessary supplies. This includes a hose, bucket, soap, brushes, sponges, and towels. It’s also a good idea to have a ladder on hand, as some parts of the motorhome may be difficult to reach from the ground.
Step 1: Clean the Exterior
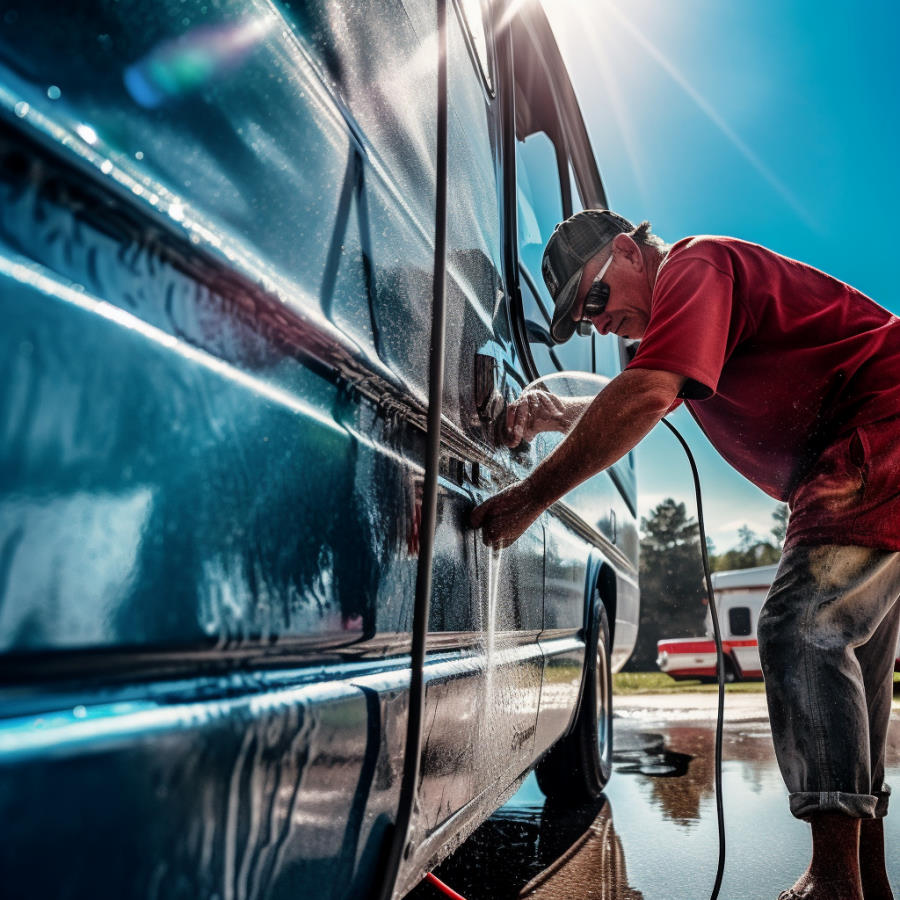
Start by cleaning the exterior of your motorhome. Begin with the roof, as this is the area that is most exposed to the elements and tends to accumulate the most dirt and debris. Use a ladder to reach the roof and use a hose to rinse off any loose dirt or debris. Then, use a soft-bristled brush and soap to scrub the roof, being careful not to damage any vents or other components. Rinse the roof thoroughly with the hose when you’re finished.
Next, move on to the sides of the motorhome. Use a hose to rinse off any loose dirt or debris, then apply soap to the sides using a soft-bristled brush or sponge. Be sure to clean the windows and mirrors as well, using a glass cleaner and a microfiber towel. Rinse the sides of the motorhome thoroughly with the hose when you’re finished.
Finally, clean the wheels and tires. Use a tire cleaner and a brush to scrub the tires, then rinse them off with the hose. Use a wheel cleaner and a brush to clean the wheels, being careful not to damage any of the components. Rinse the wheels thoroughly with the hose when you’re finished.
Step 2: Clean the Interior
Once you’ve finished cleaning the exterior, it’s time to move on to the interior. Start by removing any loose items from the motorhome, such as furniture cushions, bedding, and kitchen utensils. Use a vacuum to clean any debris from the floors and upholstery.
Next, wipe down all the surfaces in the motorhome with a damp cloth or sponge. This includes the countertops, tables, and cabinets. Be sure to use a mild cleaner that won’t damage the surfaces. Pay special attention to the kitchen and bathroom areas, as these tend to accumulate the most dirt and grime.
Finally, clean the windows and mirrors on the inside of the motorhome using a glass cleaner and a microfiber towel. This will help to improve visibility while driving and make the interior feel cleaner and brighter.
Step 3: Finish Up
Once you’ve finished cleaning the interior and exterior of your motorhome, it’s time to finish up. This includes drying off any surfaces that are still wet, putting away any cleaning supplies, and replacing any items you removed from the motorhome.
It’s also a good idea to do a final inspection to make sure you haven’t missed anything. Check for any areas that may still be dirty or dusty, and make any necessary touch-ups.
Tips for Cleaning Your Motorhome:
- Use the Right Products: Use products that are specifically designed for cleaning motorhomes, as these are formulated to be safe for the vehicle’s surfaces. Avoid using harsh chemicals or abrasive materials, as these can damage the exterior and interior of the motorhome.
- Be Gentle: When cleaning the exterior of the motorhome, be gentle with any components that may be delicate or easily damaged. This includes vents, awnings, and antennas.
- Take Your Time: Cleaning a motorhome can take time, so be patient and don’t rush through the process. Take breaks as needed