How to Check and Adjust the Chain on a Honda Monkey (2018–2021)
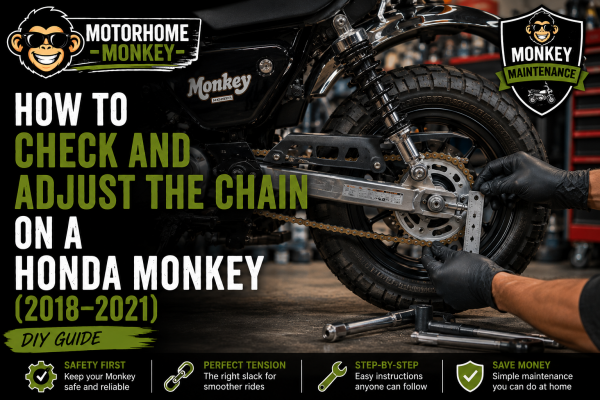
Correct Honda Monkey chain adjustment is essential for smooth power delivery, safe handling and maximum chain life. Fortunately, checking and adjusting the chain on a 2018–2021 Honda Monkey is a straightforward job that most owners can complete at home with a few basic tools. Here’s our step-by-step guide.
| Specification | Value |
|---|---|
| Difficulty | ⭐⭐☆☆☆ Easy |
| Time Required | 20–30 minutes |
| Estimated Cost | Free (unless replacing worn parts) |
| Model Covered | 2018–2021 Honda Monkey (JB02) |
| Skill Level | Beginner |
Why Chain Adjustment Matters
Your Honda Monkey’s drive chain transfers power from the engine to the rear wheel.
As the chain wears, it naturally stretches slightly. If it becomes too loose, it can whip, produce jerky power delivery and accelerate wear on both the chain and sprockets. If it’s adjusted too tightly, it places unnecessary strain on the gearbox output shaft, wheel bearings and suspension.
Checking chain slack regularly is one of the easiest ways to prolong the life of your final drive.
Before You Begin
Honda recommends checking chain slack with the motorcycle on level ground and the transmission in neutral.
If you’ve just been riding, allow the chain to cool before making any adjustments.
Tools You’ll Need
- 12 mm spanner or socket
- 19 mm or 22 mm socket (rear axle nut, depending on model/tools)
- Torque wrench
- Steel ruler or tape measure
- Clean cloth
Step 1 – Find the Tightest Part of the Chain
Rotate the rear wheel slowly while inspecting the chain.
Most chains don’t wear perfectly evenly, so identify the section with the least amount of slack.
This is the point where the adjustment should be checked.
Step 2 – Measure the Chain Slack
Locate the centre of the lower run of the chain.
Push the chain upwards with one finger and note its position.
Now pull it downwards and measure the total movement.
Compare your measurement with the specification in your Honda owner’s manual.
If it’s outside the recommended range, adjustment is required.
Step 3 – Loosen the Rear Axle
Loosen—but do not remove—the rear axle nut.
The wheel only needs to move slightly during adjustment.
Step 4 – Adjust the Chain
Turn the chain adjuster bolts evenly on both sides of the swingarm.
Move each adjuster by the same amount.
Take your time—small adjustments make a noticeable difference.
Step 5 – Check the Alignment Marks
Both sides of the swingarm have alignment marks.
Ensure the left and right adjusters line up with the same mark.
If the wheel isn’t aligned correctly, the bike may not track straight and the chain can wear unevenly.
Step 6 – Recheck the Slack
Once adjusted, measure the chain slack again.
Repeat the adjustment if necessary until the chain falls within Honda’s specification.
Step 7 – Tighten the Rear Axle
When you’re satisfied with the adjustment, tighten the rear axle nut to the torque specified by Honda.
Finally, rotate the wheel several times and check the slack once more.
Inspect While You’re There
Since you’ve already got access to the chain, it’s worth checking:
- Chain lubrication
- Rust
- Tight links
- Damaged rollers
- Sprocket wear
- Split pins or locking devices (where applicable)
Routine inspections often identify problems long before they become expensive repairs.
Common Mistakes to Avoid
- Adjusting the chain too tightly.
- Ignoring the tightest section of the chain.
- Forgetting to check wheel alignment.
- Failing to torque the rear axle correctly.
- Lubricating a dirty chain instead of cleaning it first.
When Should You Replace the Chain?
No amount of adjustment will fix a worn-out chain.
If the chain develops stiff links, stretches excessively or reaches Honda’s wear limit, replace both the chain and sprockets as a complete set.
Replacing only one component usually shortens the life of the others.
Motorhome Monkey Verdict
Checking and adjusting your Honda Monkey’s chain is a simple maintenance job that pays dividends.
It improves the riding experience, helps the bike perform smoothly and can significantly extend the life of both the chain and sprockets.
Spend a few minutes checking it every few hundred miles and after riding in poor weather, and your Monkey will thank you with many more miles of reliable service.
🔧 Motorhome Monkey Top Tip
Never guess chain tension.
Many owners think “tighter is better”, but that’s one of the quickest ways to accelerate wear. Always adjust the chain to Honda’s specified slack, not to what simply “feels right”.
Editorial Note
This guide applies to the 2018–2021 Honda Monkey (JB02). Always consult your owner’s manual for the exact chain slack specification and rear axle torque applicable to your model year.